
Install and Import
Edit it and make it your own
Install and Import
Before you can edit your new website, there are a few steps to take. Follow them step by step. When you’re done, you can move over to the section Edit and make ik your own of this user guide.
Hosting
If you don’t have a hosting provider yet, make sure you choose a reliable one with self-hosted WordPress sites like Elementor ↗, Bluehost or SiteGround. Make sure they offer you:
- Managed WordPress hosting
- 1-click WordPress installation
- Support
- SSL
- Server updates
Install WordPress
If you have a hosting provider already but don’t have a fresh WordPress installation yet, make sure you install one. Most hosting providers offer a one-click WordPress installation. Check this out before you start.
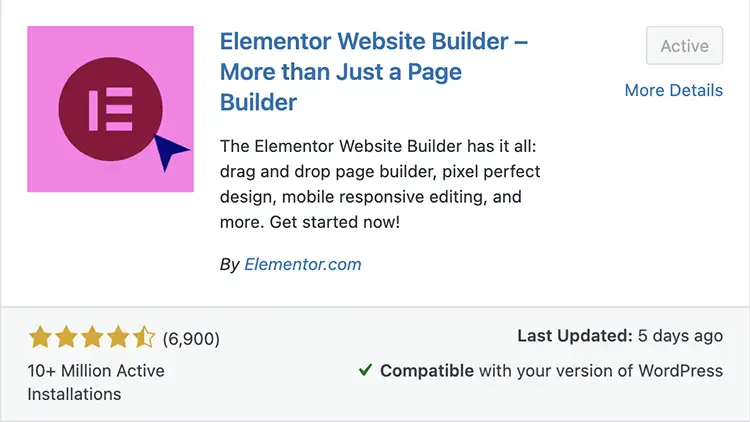
Install the Elementor plugin
On your dashboard, go to Plugins → Add New Plugin. Now search for Elementor. Then click on Install Now and when that’s done, click on Active.
Import the Bloom template
On the WordPress dashboard, navigate to Elementor → Tools → Import / Export Kit → Start Import. Select the Elementor Kit and import the kit.
When you see the message Warning: JSON or ZIP files may be unsafe, click on Continue. It’s completely safe 🙂
Then click on Next and Import. Once that’s done, you’ll see the message First, enable unfiltered file uploads. This is necessary to import SVG files. So, you can click on Enable. Then, when finished, click Done in the right lower corner.
On the left top corner, hover over the home icon and click on Visit Site to check out your new website.
Note: When the images are missing, check the server settings. You can read more about it at Images are missing in the Template Library↗.
Permalinks
WordPress uses several types of permalinks for the URLs on your website. To set the most friendly permalinks for SEO as well as for your visitors, go to Settings → Permalinks and choose Post name. Then click on Save changes.
Internal links
The page URLs are updated automatically, but the internal links and buttons on the pages aren’t. There are two ways to update those links.
1. For the easiest way, navigate on your dashboard to Elementor → Tools → Replace URL. On the first line, enter the old URL, in this case: https://bloom.websitewordpressthemes.com. On the second line, enter your own URL: https://yourdomain.com. Then click on Replace URL. Now, all the internal links are modified.

2. The other way to update these links, go to Pages → All Pages. Choose the page you want to edit, hover over it and click on Edit with Elementor. Once you’ve reached the editable page, click on the button. On the left-hand side, add the page link. Just type the first letters of the page you want to link it to. It will appear automatically. Then click on it and Update the page. Make sure you will update all buttons on every page.

Note: the buttons that link to this template on Etsy can simply be removed. Or you could change the button text to something you wish for and update change the internal link like mentioned above.
Install the free Astra theme
Once you’ve installed WordPress, access your WordPress dashboard (yourdomein.com/wp-admin) and go to: Appearance → Themes → Add New Theme. Then choose the free theme Astra and click on Install and then click on Activate.
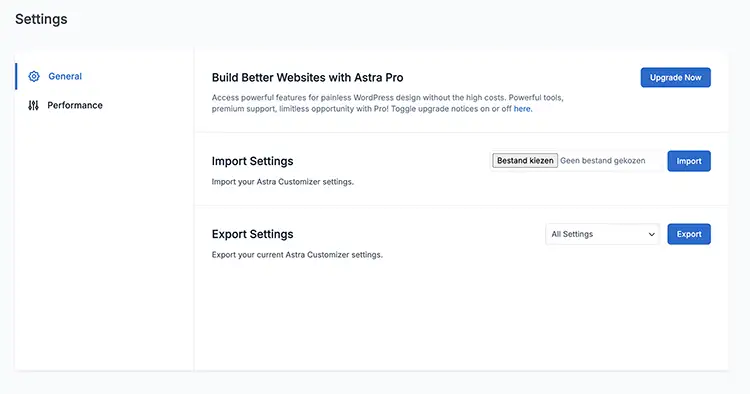
Manage the Astra setting
To adopt the colors and fonts of the astra theme, you’ll need to import the Astra settings. On your WordPress dashboard, go to Astra → Dashboard → Settings. Select the file astra-setting.json you received when purchasing the theme and click on Import.
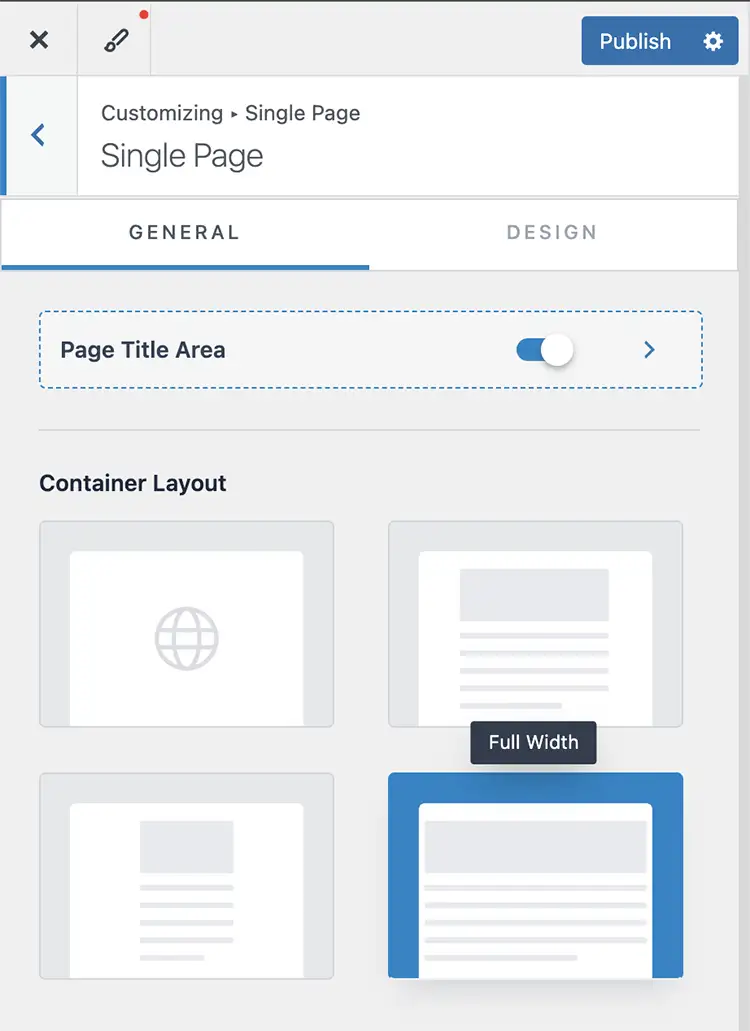
Now, on your dashboard, go to Appearance → Customize → Page → Single Page. Find Container layout and select Full Width. Then click on Publish.
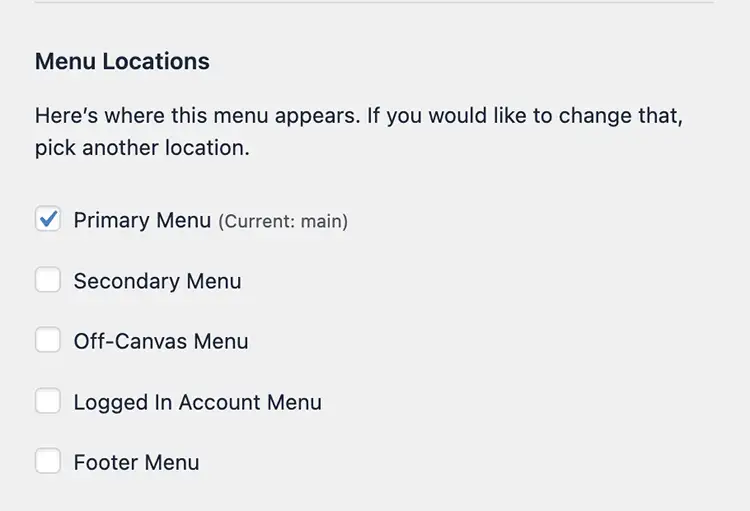
The last step is to set up the menu. Go to Appearance → Customize → Menus. Click on Main and then select Primary Menu. Now your Astra settings are all done.
Ofcourse, you can customize much more. But in order to use this template the way it’s set up, these setting are enough.
Import and activate the contact form
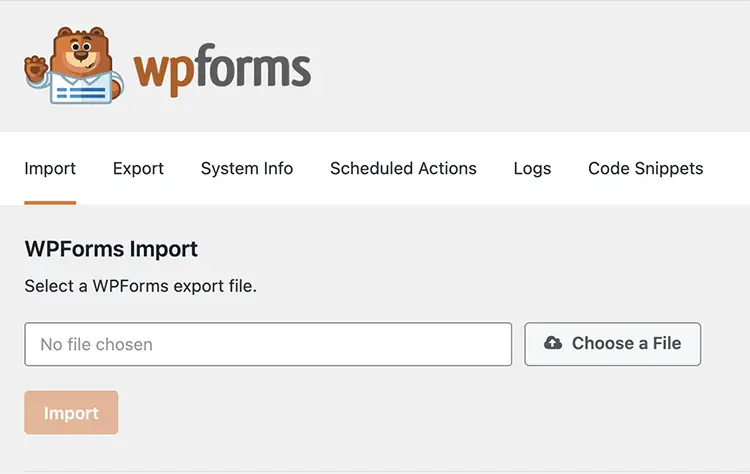
This template comes with a contact form. Before you can use is, you’ll need to import it. On your WordPress dashboard, go to WPForms → Tools. Choose the file wpforms-form.json you received when purchasing the theme and click on Import.
Go to WPForms → All Forms and copy the shortcode [wpforms id=”xxx”]
Note: you’ll need to copy the whole text including these [] (the id will be different).
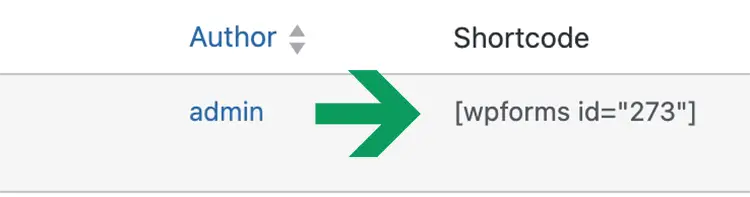
Go to WPForms → All Forms on your WordPress dashboard and copy the shortcode [wpforms id=”xxx”]
Note: you’ll need to copy the whole text including these [] (the id will be different).
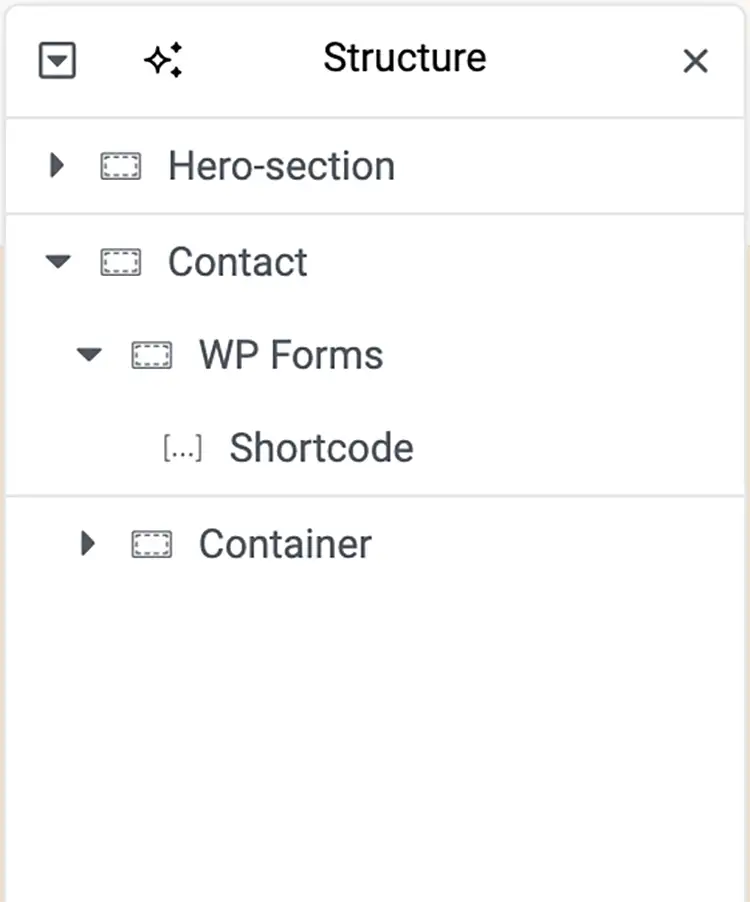
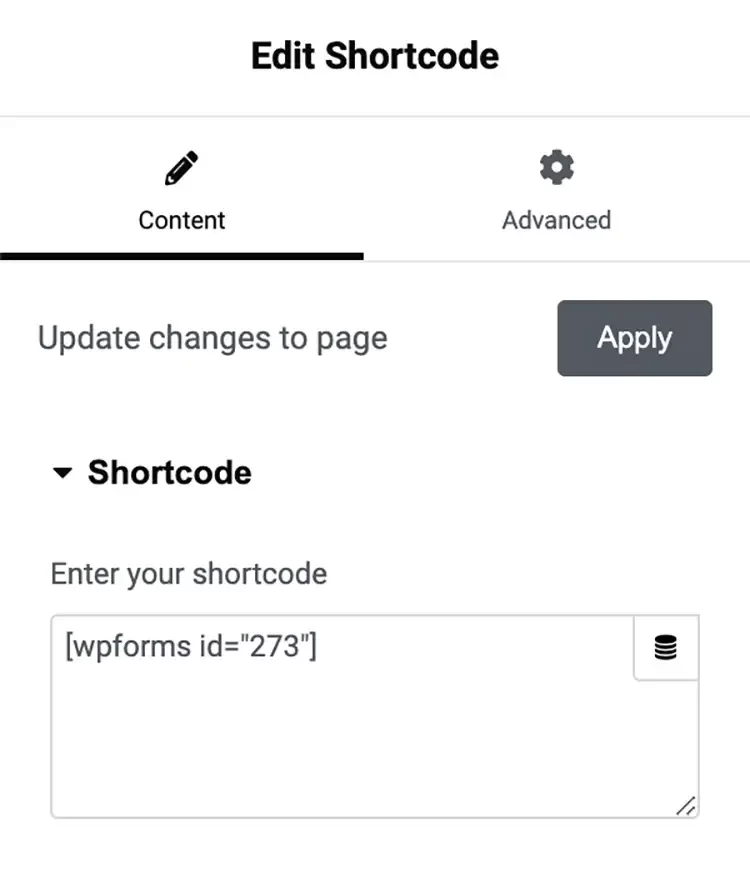
Now, on your WordPress dashboard, go to Go to Pages → All Pages. Hover over the page Contact and click on Edit with Elementor. In the structure part, click on Shortcode.
The contact form has it’s default fonts and colors. If you want to use the fonts and colors of this contactform, on your dashboard go to Appearance → Customize → Additional CSS and paste the code in the file css-cotactform.txt you received when purchasing the theme. The click on Publish.
Note: if you want to change the color of the button, you’ll need to replace the hex color code with your own.
Edit it and make it your own
Yes, everything is set up. Now it’s time to make it your own. Follow the steps below or choose the tabs you need to customize your website.
Add your logo and favicon
To add your own logo and favicon, go on your WordPress dashboard to Appearance → Customize. First, select your site icon and click on Publish. Then click on Site Title & Logo Settings, select your logo and click on Publish.
Change colors and fonts
Choose the colors and fonts you like for your template. In order to do that, go to Pages → All Pages. Hover over a page, for example Home, and click on Edit with Elementor. Once done, click in the left-top corner of the menu bar and click on Site Setting.
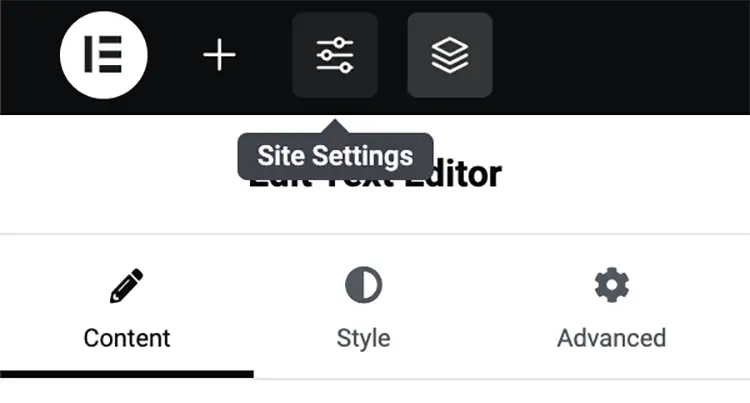
To change the used colors, click on Global Colors and make sure the Style Guide Preview is switched on. Click on a color you want to change, pick your color and click on Update in the left bottom corner. In this way, you can change all the colors. Also, you can add your own colors.
Note: To make sure the used color will change on the entire website, don’t change the color preset name. Only change the color itself.
Changing fonts works the same way as changing colors. Go to Site Settings and click on Global Fonts. Change the font family of each preset font.
For example, you would like to use another font for the plain text. Click on Text and choose your font. Also, you can change the size shown on desktop, laptop, tablet and mobile. Therefore, click on the device icon and navigate to the preset devices.
Once you’re finished, update the page.

Edit page
In order to edit headings, text and images on the page, go to Pages → All Pages. Hover over the page and click on Edit with Elementor.
Choose the page you want to edit, hover over it and click on Edit with Elementor.
Once you’ve reached the editable page, you can change headers, text and images by clicking on the element you want to change. Once you’re done, click on Update and your changes have been saved.
To check the changes you’ve made, click on the eye icon next to the Update button.
Have you changed something and want to undo the changes? In that area, you also find Actions and Revisions. You can easily undo the changes you’ve made by clicking on the previous action on the revision and then updating the page.
Add page
To add a new page, go on your dashboard to Pages → Add New Page. Add a title and then on the left-top bar, click on Edit with Elementor.
Now, the easiest way to design a new page that fits the others and is responsive and mobile-friendly too, is to copy the content from one or more other pages and paste it into your new page. Therefor, open the page you want to copy the content from in another tab and click on Edit with Elementor, like mentioned here ↑. Scroll down until you reach the part where you can add a new section. Click on your right mouse button and Copy All Content.

Now, go to the page you just created, click in the new section area on your right mouse button and click on Paste.
Change the text and images, rearrange the section and on the left-bottom corner, click on Publish.
Change order of elements
Maybe you would like to change the order of the elements on the page. For example, on the homepage you would like to start with Benefits instead of Services. Go to the editable page like mentioned here ↑.
Click and hold an element on the six dots and drag it up or down to the right order. Once it’s in its place, let go of the dots and click Update.

Delete or add elements
To delete an element, you simply click on the X next to the six dots ↑.
To add an element, there are two ways to do this.
One: scroll all the way down and add a new section.

Two: copy an existing element by right-clicking the six dots and selecting Duplicate. Move it to the right position and place your own text and images.
Change background images
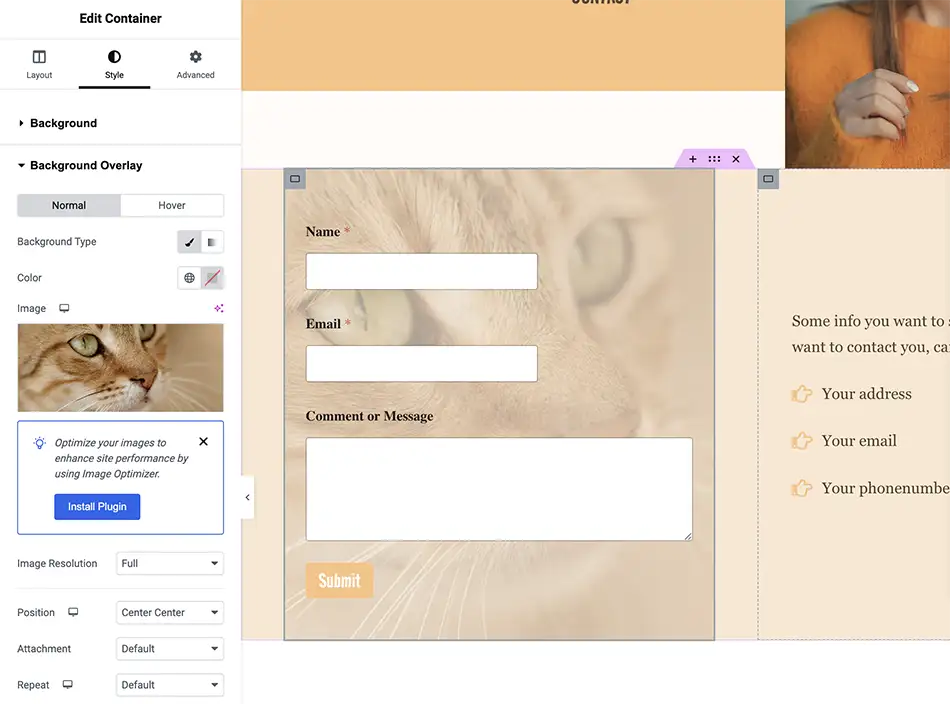
Sometimes, an image is added as a background image or an overlay background image. First, you’ll need to determine where the background image is located. In this example, it is located as the background of the container section. To change this image, go to the editable page and then to the element that contains the image. Click on the six dots in the element. Then go to Style → Background or Style → Background Overlay. Click on the image and choose a new image by Upload files or selecting one from the Media Library.
If the image is used as the background of a nested container (a container within the container section), then select the small gray square in the top left-corner and follow the steps mentioned above.
Note: Make sure the images you upload are optimized for the web, so they won’t be too large and slow down your website.
Set up the contact form
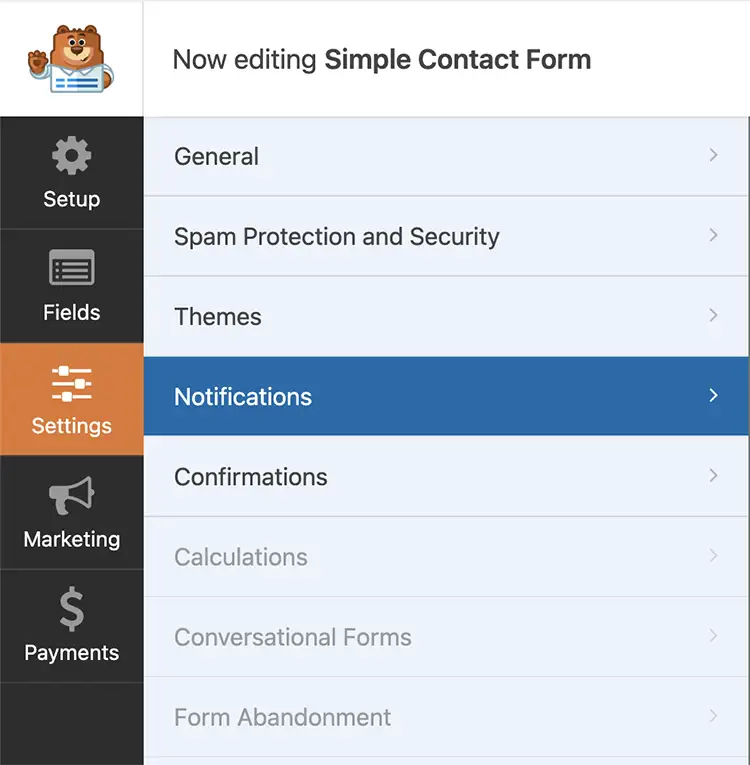
You have to connect your email address in order to receive emails. Therefore, on the WordPress dashboard, go to WPForms → All Forms. Hover over the Simple Contact Form and click on Edit. Then go to the Notifications tab. Here, you can set up your email address.
On the Confirmations tab, you can choose which message you want to you after submitting the contact form. When you’re done editing, click on Save in the right top corner.
Note: Connecting a contact form comes with some technical knowledge. Please contact your IT specialist to set this up properly. Read more about it ↗.
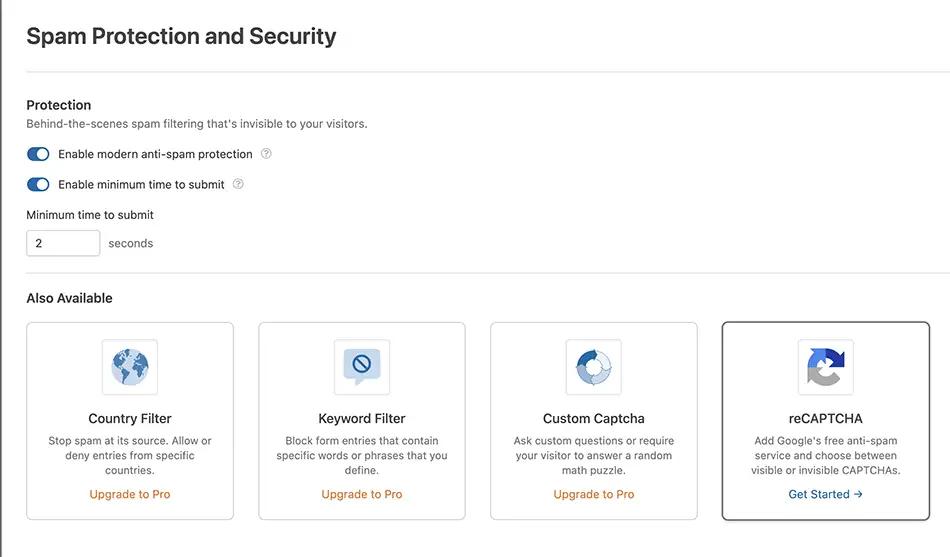
Note: Because you can expect a lot of spam in your inbox, the best thing you can do is implement reCAPTCHA ↗ from Google.
On the WordPress dashboard, go to WPForms → All Forms. Hover over the Simple Contact Form and click on Edit. Then go to the Spam Protection and Security tab. Then follow the steps when you click on ReCAPTCHA Get started.
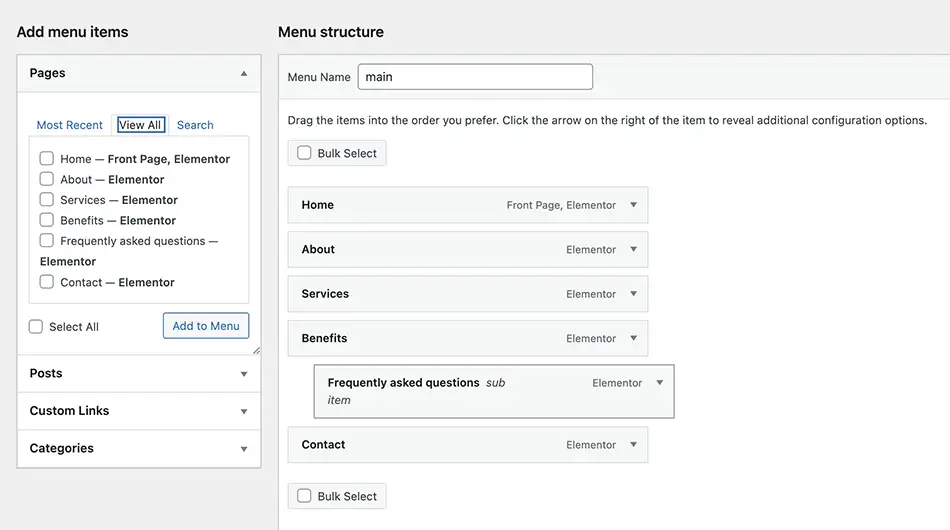
Modify the menu
This template comes with one menu. If you want to change this and add your own pages, go on your dashboard to Appearance → Menus. Simply drag and drop tot reorder the pages in the menu.
If you want to add pages to your menu, select them on the right side and click on Add to menu. Then drag it to the right position.
Repeat the steps from above, place the page under the main page, or shift the page slightly to the right to make it a subpage.
Note: Prevent putting too many pages in the menu. This is not clear for visitors, and the pages may not fit next to each other on a narrower screen, such as a laptop.
Find out more
There is much more to discover with Astra ↗ and Elementor ↗. At least now you have your own website. You can expand it with cool features. Have fun and enjoy your brand-new website.